- Author admin [email protected].
- Public 2023-12-16 16:46.
- Last modified 2025-01-23 11:20.
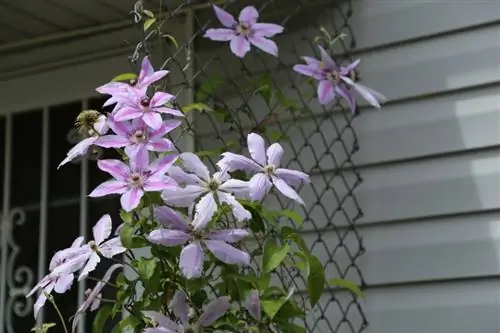
If the roots of a clematis are threatening to burst the pot, repotting should no longer be put off. To ensure that the clematis seamlessly continues its glamorous performance in the new planter, the following aspects are important.
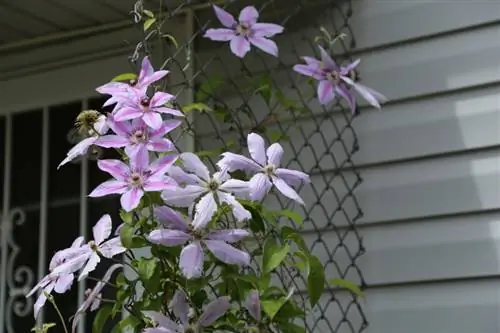
When and how should you repot a clematis?
To successfully repot a clematis, choose a day during winter sap dormancy when it has no foliage. Use a pot with a diameter of at least 10 cm larger and an opening in the bottom, create drainage and fill it with potting soil. Plant the clematis deeper than before and water it well.
Repotting at the right time
Since changing to a new planter proves to be extremely strenuous for the clematis, a day during the winter sap dormancy is ideal for this measure. In early spring the clematis has shed all of its leaves. The new growing season hasn't started yet, so now is the best time to repot.
Step-by-step instructions
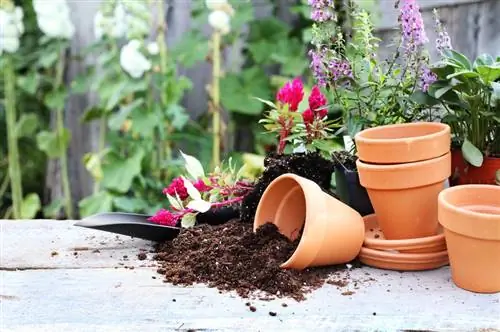
The new pot ideally has a diameter that is at least 10 centimeters larger and a bottom opening for water drainage. To make it easier to remove the root ball from the old pot, the clematis is not watered in the previous 2-3 days. Follow these steps to transplant:
- In the new bucket, create a 5-8 cm high drainage on the bottom with gravel or pottery shards
- Pour high-quality potting soil up to half the height of the pot in order to make a depression in it with your fist
- Now unpot the clematis, place it in the fresh substrate 5-7 cm deeper than before and water well
- A watering edge of 3-5 cm prevents the soil-water mixture from spilling over
- Spread a layer of mulch made of pine bark, expanded clay or bark mulch
If a larger pot is not available, you can alternatively cut the roots. To do this, shorten root strands that are too long so that the root ball fits back into the previous container. Be sure to use freshly sharpened and meticulously disinfected tools.
Proper care after repotting
So that the clematis roots quickly in the new pot, an adequate water supply is the focus of the care work. If you use pre-fertilized substrate, fertilize the clematis for the first time after 4-6 weeks at the earliest. As soon as the first tendrils sprout, they are attached to the integrated trellis or climbing aid.
Tips & Tricks
Traditional basic rules for caring for clematis have lost their importance in view of the huge variety of varieties. The rule of thumb of a shaded base no longer applies to every clematis. For sun worshipers like Clematis texensis, this principle is rather counterproductive. Wild species such as Clematis alpina, on the other hand, warmly welcome shady underplanting.

