- Author admin leonars@hobbygardeners.com.
- Public 2023-12-16 16:46.
- Last modified 2025-06-01 06:02.
Most of the flowering perennials have already said goodbye. But the asters do not give up, but hold on bravely. But it doesn't always stay that way. A transplant campaign can under certain circumstances become vital.
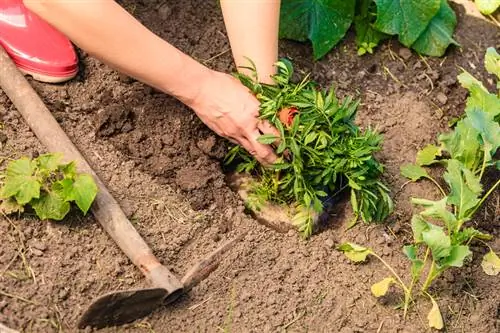
When and how can you transplant asters successfully?
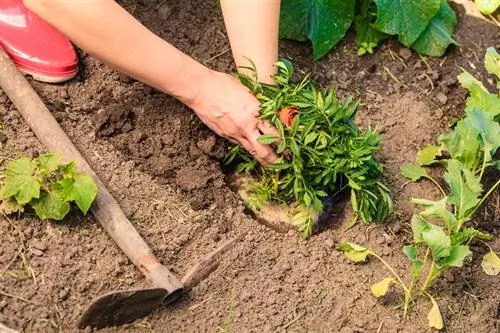
Asters should be transplanted in early fall or spring. Choose a sunny, sheltered location, prepare the soil and dig a planting hole. Divide the aster, if desired, and plant it in the new location before watering generously and possibly adding support. Maintain a minimum distance of 30 cm from other plants.
Reasons that may speak for a transplant campaign
Professionals sometimes transplant their asters just so that the plants receive new, loose, compost-rich soil and thus grow stronger again and subsequently bloom more profusely.
The following aspects also make transplanting useful:
- planted too closely
- too partially shaded/shady location
- too windy location
- poor growth
- Disease attack (aster wilt)
- upcoming move
- no more joy in the plant; give away
Choose the location beforehand
Even before you lift the aster out of the ground, you should know where you want to plant it. Not every location is suitable. These perennials need lots of sunlight. They prefer a sunny location. Tall varieties also need a sheltered place. The blue wood aster, the white wood aster and wild asters can also thrive in partial shade.
Preparing the soil
We continue with the preparation of the soil at the selected location. Dig a planting hole. Loosen up the soil properly. If the soil is very clayey, mix in some sand and humus! You can also add some compost to the planting hole.
Take action: Dig up, divide, transplant
In early autumn or early spring the time has come to take action. Remember that the aster still needs some time to root properly. If a period of frost comes soon after transplanting, it may be helpless.
Lift the aster out of the ground with a digging fork (€139.00 on Amazon). Now you can divide the perennial if you want. If roots have been injured, cut them back with a sharp and clean knife. Now it's time to move to the new location. The aster is planted there and then watered generously. If necessary, attach a support - done!
Tip
The distance to other plants should not be irrelevant! Therefore, when transplanting to the new location, keep a minimum distance of 30 cm from neighboring plants!

