- Author admin leonars@hobbygardeners.com.
- Public 2023-12-16 16:46.
- Last modified 2025-06-01 06:02.
Refining is one of the typical forms of rose propagation. A noble rose - which is often not very vigorous and susceptible to disease, but which blooms even more beautifully - is planted on a more robust and vigorous base. The aim of this art is not only to make the beautiful roses more robust and resilient, but also to produce large rose bushes more quickly.
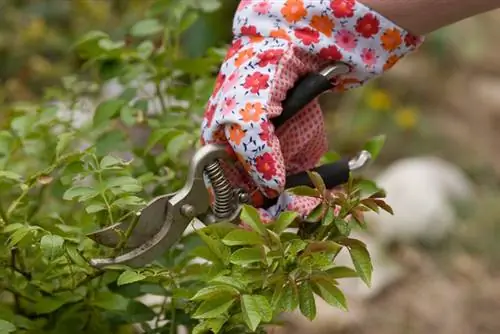
How do you properly refine roses?
To refine roses you need a cutting knife, a suitable base (wild roses) and a noble rose. In August you cut a rose shoot, prepare the eye and insert it into the base. The finishing point is fixed with a rose rubber band.
What you need for finishing
To successfully refine a rose, you basically only need three things:
- a good eyelet knife
- a suitable base
- a beautiful noble rose
The planting knife is part of a rose grower's tools, just like the sharp kitchen knife is for the cook. Wild roses are primarily used as rootstock because they have particularly strong roots, are usually hardy and are also quite insensitive to the typical rose diseases. Rosa canina (dog rose), Rosa multiflora (many-flowered rose) or Rosa laxa are particularly commonly used. You plant this rootstock in the garden either in late autumn or early spring. Finally, in August you can do the oculation.
Instructions for refining your rose
The best time for grafting is August. At this point, the wild rose rootstock will already be well established, and the chosen noble rose is probably in full bloom. Now you can proceed according to plan.
Cut and prepare fresh shoots
First of all, cut a rose shoot with a flower that has just faded and remove all the leaves and thorns from this flower head. But be careful: Leave the petiole on the shoot, because the required eyes are directly underneath it.
Eye removal
Now first disinfect your inoculating knife so that no unwanted germs can penetrate the wound and ruin the work. Carefully break off the leaf stem that has been left standing and cut out the eye underneath. To do this, place the eyelet knife just above the eye and make a sharp, vertical cut downwards. Carefully fold this piece over and remove the piece of wood that resembles a fork. What remains is the actual green eye, which you now insert into the base.
Cleaning the base and inserting the eye
To do this, first expose the root neck of the base, clean and disinfect it. Then cut a “T” into it and carefully fold the ends over - then carefully push the eye into the resulting pocket. Make sure you use the eye the right way around! Otherwise the shoots will later grow in the wrong direction instead of upwards as desired. Close the ends again and connect the finishing point with a special rose rubber band.
What you need to do after finishing
Now it's time to be careful, because the following spring the shoots should only emerge from the grafting area, but not from the rootstock. Wild rose shoots should not be cut off (this actually promotes their growth), but should be broken off directly at the base.
Tip
If you don't mind this effort, you can often propagate the desired noble rose using cuttings or cuttings.

