- Author admin leonars@hobbygardeners.com.
- Public 2023-12-16 16:46.
- Last modified 2025-06-01 06:02.
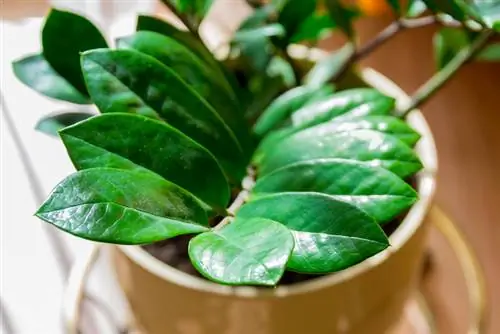
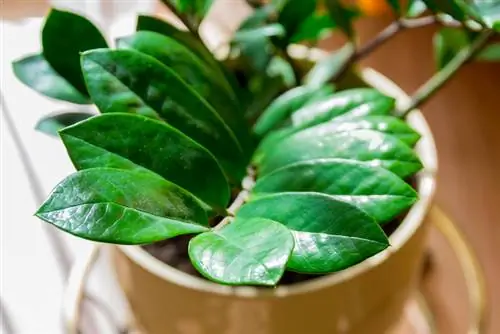
Zamioculcas zamiifolia - also known as the lucky feather in this country - is a houseplant that grows up to one meter high and quite wide. It impresses with strong, fleshy shoots and thick, dark green and shiny leaves that are arranged on the shoot like a bird's feather. The very attractive plants have only been available on the German market since the end of the 1990s, but are now very popular as houseplants. No wonder, because the distinctive plant is also considered to be extremely robust and frugal.
When and how should you repot Zamioculcas?
Repotting the Zamioculcas is necessary when rhizomes grow beyond the edge of the pot or shoots no longer have space. This ideally happens in March, April or summer. Choose a wide pot with drainage, remove old soil and damaged roots, divide the plant if necessary and water well.
When is it time to repot?
This includes the fact that Zamioculcas only needs to be repotted very rarely, as the plant prefers cramped conditions in the planter. For this reason, it is only time to move when the rhizomes begin to grow over the edge of the pot. Even if the shoots no longer have room to grow out and therefore protrude over the edge of the pot, you should give the “Zamie” a new pot. It is best to repot at the beginning of the growing season in March or April, but this measure can also be carried out without any problems in the summer.
Repotting Zamioculcas - This is how it’s done
Implementing the lucky feather is very easy as long as you follow these guidelines:
- First prepare the new plant pot.
- Choose a model that is more wide than deep, as the roots tend to grow wider.
- You should pay special attention to drainage.
- As a succulent, Zamioculcas does not tolerate waterlogging.
- The pot should have drainage holes at the bottom and you should also plan a thick drainage layer.
- Pottery shards (€11.00 on Amazon) or expanded clay are very suitable for this.
- After the preparatory work, remove the plant from the old pot.
- If necessary, run a knife along the edge of the pot.
- Now carefully lift out the lucky feather
- and remove the old soil.
- Inspect the roots carefully. Remove damaged or rotten roots.
- If the plant is too big, you can now divide it.
- To do this, separate the rhizomes with a sharp knife
- or. simply split off offshoots.
- These individual parts are finally planted individually in pots.
- Water the Zamioculcas well after repotting.
Although the plant, which comes from East Africa, also feels very comfortable in palm or compost soil, it can also be cultivated in expanded clay or another substrate suitable for hydroponics. This form of plant cultivation significantly reduces the already low maintenance effort.
Choose the right pot size
Choose the next pot size not too large, because the Zamioculcas thrives best in a somewhat cramped planter. Just one to a maximum of two sizes larger than the old pot is completely sufficient. However, if you want to share the lucky feathers, then of course choose a smaller pot.
Tip
Zamioculcas should not be cut. If the plant gets too big, simply divide it the next time you repot it.

