- Author admin leonars@hobbygardeners.com.
- Public 2023-12-16 16:46.
- Last modified 2025-01-23 11:20.
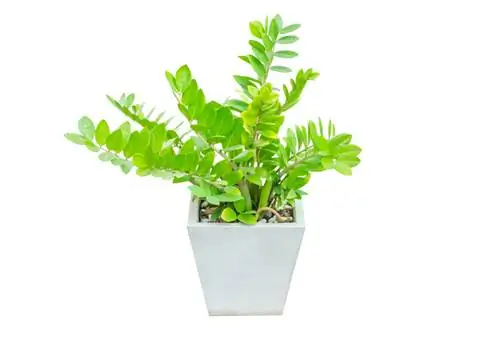
The attractive houseplant Zamioculcas zamiifolia or lucky feather can easily be propagated vegetatively. There are various options for this, all of which have a high success rate. Vegetative propagation is an asexual form of reproduction in which the offspring arises from individual parts of the plant and therefore looks exactly like the mother plant - after all, it is basically just a clone of the same.
How to propagate a Zamioculcas plant?
The Zamioculcas can be propagated by dividing in spring, cutting off cuttings or using leaf cuttings. Fresh substrate should be used and ideal growth conditions should be ensured to ensure a high success rate.
Dividing Zamioculcas in spring
Multi-shoot plants like the Zamioculcas can be easily divided as long as the plant intended for this purpose is large enough.
- Unpot the plant at the end of the dormant period.
- This usually occurs in early spring.
- Separate the root ball into two or more pieces.
- You may want to use a knife to do this.
- Each section must have he althy roots and at least one strong shoot.
- Place the divided plants individually in fresh substrate.
- Done!
Separate offshoots and plant them
The Zamioculcas often produces complete young plants, the so-called offshoots, in addition to the main shoot. So that they can quickly develop into strong specimens, separate them from the mother plant in spring or summer and place them separately in new containers with fresh substrate. Basically, you proceed in the same way as if you were dividing the lucky feather.
Cutting leaf cuttings
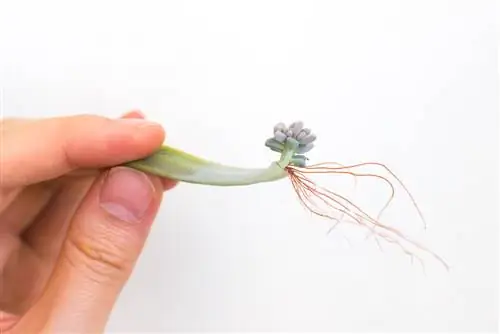
Zamioculcas can also be propagated very well using leaf cuttings that are simply stuck into substrate. The best time for this measure is spring or early summer.
- To do this, pluck off as large a leaflet as possible.
- You can also cut it off, but then it won't root as well.
- Select a leaf from the lower or middle area of the leaf vein.
- Fill growing pots with potting soil or a mixture of potting soil and sand.
- Now insert the leaf cuttings with the cut side down.
- The leaves should be about two centimeters deep in the soil.
- Plant the leaves individually or in groups in a pot.
In order to accelerate tuber and root formation, the cuttings should always be kept warm and humid. A transparent plastic hood that is simply placed over the top serves well. Freezer bags are very suitable for this and are positioned over the pot using support rods so that they do not touch the plant. But cut-off PET bottles can also be used excellently for this purpose. Choose a bright but not directly sunny location (for example on a windowsill). Now it's time to wait, because it can take six months for the planted leaf to take root. During this time, keep the substrate slightly moist at all times.
Tip
You can also dip the freshly cut cuttings in a rooting hormone (€8.00 on Amazon) before planting, which promotes root formation.

