- Author admin [email protected].
- Public 2023-12-16 16:46.
- Last modified 2025-06-01 06:02.
Creative balcony gardeners ignore mundane plastic boxes and simply build their own individual balcony box themselves. Under certain conditions, foil is an important component in the construction plan. You can find out here what function the material fulfills, when and how it is installed.
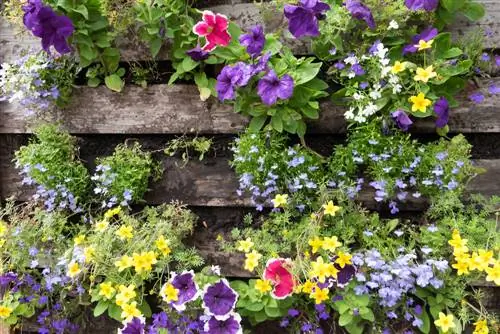
What is the purpose of the foil when building a flower box yourself?
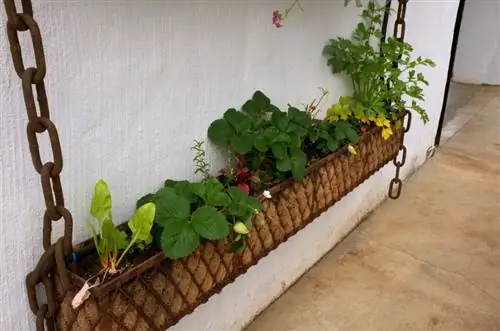
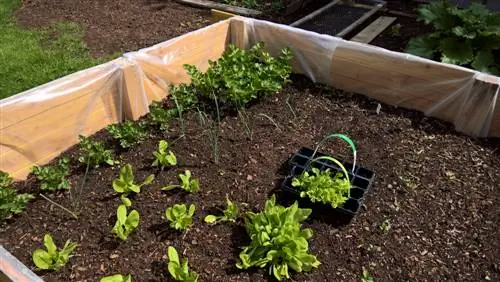
In a self-made wooden flower box, an inserted film protects the material from moisture and mold. Use tear-resistant weed fleece or pond liner, lay it out in the box, cut along the edges and staple it in place. Make sure to cut the film appropriately for water drainage openings.
Bulwark against moisture - this is what foil does in the flower box
By covering a self-constructed balcony box with foil, you protect the material used from moisture. This primarily applies to natural materials such as spruce, larch, Douglas fir and other types of wood. If vessel walls and the floor are constantly exposed to moisture, rot and mold form. It's not just the balcony box that suffers from this. The plants are also not spared from the pathogens.
If, however, it is a flower box made of water-repellent material, you can avoid using foil. This applies, for example, if you have given an old gutter a second life as a balcony box.
Laying out the flower box correctly with foil - this is how it works
There are various options available for the appropriate slide. The weight of the planting largely determines the ideal quality. For a small herb bed in the pallet flower box, a cut open garbage bag is sufficient. If small trees or larger perennials are on the planting plan, we recommend tear-resistant weed fleece or pond liner. How to properly install foil in the balcony box:
- Drill several holes in the bottom of the box for water drainage
- Cut an aquarium hose into precisely fitting pieces and insert them into the holes
- Lay the foil in the flower box and cut along the edges
- Attach all around without slipping with a stapler
Finally, use a sharp knife to cut the foil in a cross shape above the bottom holes. In this way you ensure that rain and excess irrigation water can drain away unhindered. The pieces of hose in the floor holes reliably protect the wood from moisture at this point.
Tip
If you fill your self-made flower box with substrate, drainage to protect against waterlogging is a must. This premise applies whether you use foil or not. Place a 3 to 5 cm high layer of expanded clay, pebbles, pottery shards or a comparable inorganic material on the bottom of the box.

