- Author admin [email protected].
- Public 2023-12-16 16:46.
- Last modified 2025-01-23 11:21.
After reading this tutorial, you can now propagate your most beautiful plants on your own. Read here how to properly cut cuttings. Benefit from practical tips and tricks about the vegetative propagation method.
How do you cut cuttings correctly?
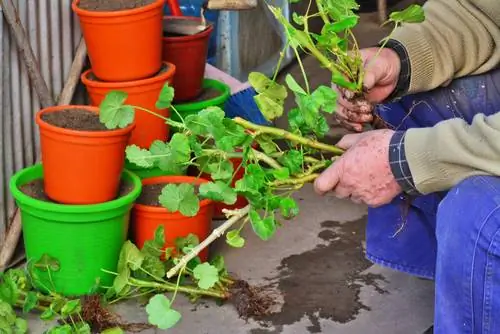
To properly cut cuttings, choose young, unwoody plant material, cut 3-5 mm below a bud or leaf, remove lower leaves, and halve large leaves to prevent moisture loss. For optimal length, cut at least one internode.
Propagation of cuttings at any time of the year
In early summer, cutting cuttings are in high season. Then many plants are in sap and floral life pulsates right down to the shoot tips. Nevertheless, there is the option at any time of the year to devote yourself to breeding through cuttings. The following table provides an overview of popular plant species:
| Spring/Spring | Early summer/summer | Late summer/early autumn | Winter (cut wood) |
|---|---|---|---|
| Ivy | Clematis | Snowball | Forsythia |
| larkspur | Dogwood | Barberry | Weigela |
| Suneye | honeysuckle | Heide | buddleia |
| Phlox | Beardflower | Boxwood | elderberry |
| Marguerite | hydrangea | Evergreen | Privet |
| Kitten Willow | Rose | Holly | Wild Wine |
| Cornelian cherry | Balcony flowers | Conifers | ornamental currant |
Cuttings are young and unwoody
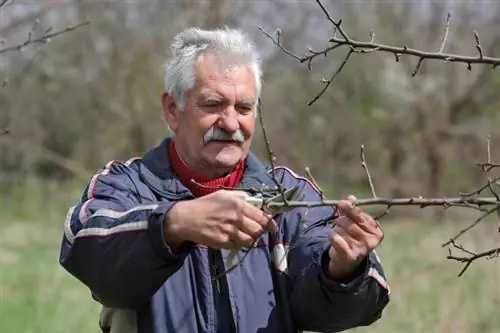
In gardening terms, a cutting is theshoot section of a mother plant. Special cultivation techniques encourage the tiny plant to form its own roots and grow into a strong young plant. Herbaceous shoots are primarily used for this purpose. For the propagation of woody plants, half-woody shoots act as the ideal starting material. The annual pruning care of shrubs and trees usually provides a large selection of potential cuttings with the clippings.
Optimal interface: under buds
Buds are the control centers in plant growth. They therefore play an important role in propagation through cuttings. Depending on the plant species, buds are noticeably large or tiny, so they are also referred to as eyes. Don't cut a cutting just anywhere, but like this:
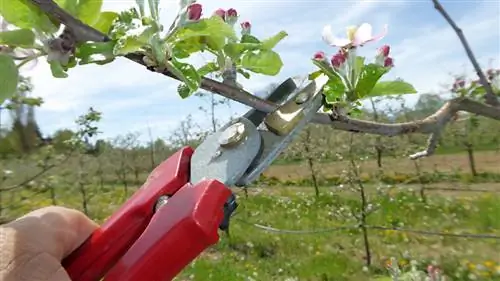
- Cut head cutting 3-5 mm below a bud or pair of buds
- Cut partial cuttings from the middle section of the shoot above and below one eye
Onleafy cuttingsyou don't have to look long for buds. Here thestarting points of the petioles mark the best position for the cut. A safety distance of a few millimeters prevents you from cutting into the vegetation point. The stub to the bud should not be longer than 5 to 10 mm, otherwise the rooting process will be delayed or fail completely.
Background
Cambium activates rooting
The cutting of partial cuttings is done just below or above a bud for good reason. In the immediate vicinity of a vegetation point there is a high proportion of valuable dividing tissue, known in technical jargon as the cambium. The cambium contains important reserve substances that promote the growth of new roots.
Perfect length: at least one internode
The interface is just as important for an exemplary cutting as the correct length. The size and vigor of the mother plant largely determine the ideal size of the offshoot. Cuttings of a rock garden perennial, such as a cactus, sedum or thyme, are almost 2 centimeters small, whereas woody cuttings reach a whopping 20 centimeters in length.
You will be spared a lot of guesswork about the perfect cutting length if you focus on the internodes. An internode marks the distance between two buds or leaves on a shoot. As a result, this section is bald or slightly hairy. In order for a cutting to grow, it must be at least one internode long. The respective plant species determines the optimal length. While a cactus cutting is content with one internode, majestic shrubs benefit many times more from internodes.
Tip
Premium quality potting soil is always low in nutrients. A mix of sand and peat or pure coconut humid encourages a cutting to root. A thin layer of ripe compost on the bottom of the pot provides additional incentive for the rapid growth of roots. If cuttings smell the rich nutrient buffet, they send their roots there with all their might.
Cutting and processing cuttings
Only rarely can a cutting be planted immediately after cutting. To ensure that rooting and growth proceed in a regulated manner, the cut is followed by expert processing. How to do it right:
- Take a clean cutting tool in one hand
- Stabilize the cutting with the other hand
- Count the required number of internodes
- Cut off at the bottom, a few millimeters below the bud or leaf
- Cut partial cuttings at the tip above the bud or leaf
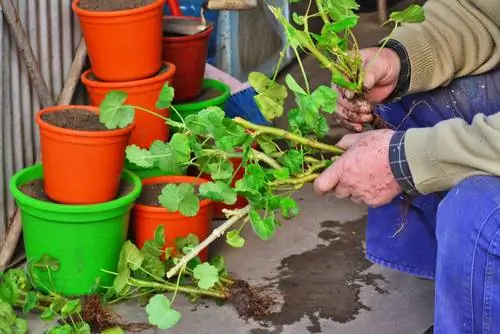
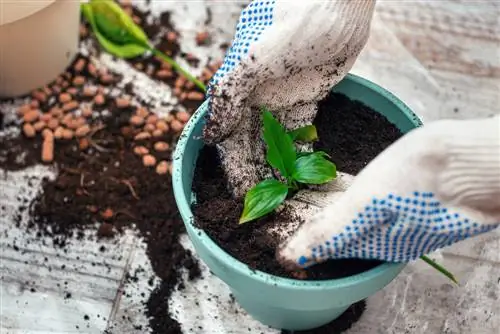
A normal cutting is placed half or two thirds in potting soil. Leaves on this section are removed because substrate contact could trigger rot. At least one pair of leaves should be visible. Since large leaves evaporate too much moisture from small cuttings, they are halved.
Rooting powder
For many plant species, a long process of patience is required when propagating cuttings until rooting finally begins. You can speed up the process with a rooting powder. The preparation “Neudofix Root Activator (€8.00 on Amazon)” made from purely natural algae lime is well suited and approved for home gardens. If you dip the cutting base into the powder, root growth will be strongly stimulated.
Wounding cut improves rooting
Some of the most beautiful flowering trees are sensitive to cutting and have difficulty producing fresh shoots, such as rhododendrons and azaleas. In order for a cutting to root and grow vigorously, amodified cut is required. By inflicting a targeted wound on the selected shoot, you stimulate growth. This is how it works:
- Cut the cutting normally with a sufficient number of internodes
- Leave the leaves at the bottom, cut the top leaves in half
- Cut a 5-10 mm long and flat chip at the base of the cutting opposite the bud
The aim of wounding is the formation of wound tissue, the so-called callus. This is dividing tissue that is actually responsible for wound healing. In many woody plants that are sensitive to cutting, callus tissue also stimulates the growth of new roots.
Excursus
Cut safely with cutting knife
Do you propagate cuttings more often during the year? Then it's worth investing in a cutting knife. This is a folding knife with a straight blade, a ground edge on one side and a straight handle. This structure enables a completely flat cut and prevents fatal bruising to the plant tissue. To ensure that no pathogens are transmitted when cutting cuttings, you should carefully clean the blade and disinfect it with alcohol after each mother plant.
Special case of cutting wood
The quiet, low-work winter time can be used productively for a variant of propagating cuttings. Simple flowering shrubs such as butterfly lilac, forsythia or weigela are the perfect candidates for propagation using cuttings.
After the autumn leaves fall, cut pencil-length shoots with a bud at each end. Insert each shoot deep into loose, humus-rich substrate. Only the upper node should still be visible. By spring, new roots will form on every cutting.

Frequently asked questions
What is the main difference between the two propagation methods, sowing and cuttings?
If you propagate plants by sowing, it is the so-called generative method. The genetic material of the plants involved is recombined. As a result, seedlings differ more or less from their parent plants. Vegetative propagation through cuttings, on the other hand, gives you an exact replica of the mother plant. For this reason, most hobby gardeners favor the cutting method to propagate shrubs, perennials and houseplants. Here you can make an exact prediction as to which attributes the young plant is equipped with.
When in doubt, is a longer or a shorter cutting beneficial for the propagation process?
In gardening practice, it has proven useful to cut cuttings with two or more internodes. The longer the shoot section between two buds, the longer the cutting can be. At first glance, this results in a larger number of leaves with a correspondingly higher degree of evaporation and the threat of drought stress. In return, the cutting has more potential to produce the substances required for root formation.
I've heard that cuttings from conifers are better taken off. How does it work?
Cuttings of thuja, fir, larch, juniper and other conifers should indeed be torn off and not cut off. The best time is from the beginning of August to the end of September. This year, sufficiently woody side shoots of a he althy, woody main shoot are suitable. First cut off the main shoot about 5 mm below the side shoot. Then tear off the secondary shoot as an actual cutting with a jerk. A tiny tongue of bark is created, which significantly improves rooting.
How can I identify rooting without digging up a cutting?
When a cutting sprouts, the leaves signal that the first roots have formed in the substrate. If you are still unsure, pull carefully on the root collar. If you feel significant resistance, the cutting has its own root system. You can now remove a hood and administer a liquid fertilizer for the first time in half the concentration.
The 3 most common cutting mistakes
An incorrectly chosen interface ends all hopes of successful propagation of cuttings. If you don't partially defoliate a leafy cutting, you will have to deal with rot in the substrate. Drought stress is inevitable when large leaves evaporate a lot of moisture. Explore the 3 most common mistakes when taking cuttings with tips for prevention here.
| Cutting errors | malicious image | Prevention |
|---|---|---|
| Cutting cut off somewhere | no rooting | cut just below a bud or leaf |
| lower half of shoot not defoliated | Spread of rot in the growing substrate | Always remove leaves that come into contact with the substrate |
| large leaves not reduced in size | Drought stress | halve large cutting leaves |
Tip
All efforts to achieve the perfect cut will be in vain if the cuttings then dry out. Put a transparent hood over the growing pot or bowl. The local, warm, humid microclimate prevents your pupils from suffering from drought stress. Daily ventilation prevents the formation of mold.

