- Author admin leonars@hobbygardeners.com.
- Public 2024-01-02 03:03.
- Last modified 2025-06-01 06:02.
Flower pots usually always have a hole in the bottom so that excess water can drain away. Other holes have no place in the flower pot and must be sealed.
How to seal an unwanted hole in the flower pot?
To seal a hole in the flower pot, use suitable adhesives such as power putty. Form a piece of modeling clay and press it into the hole. Smooth the edges, let it harden and then sand the repaired area.
The hole in the bottom of the pot
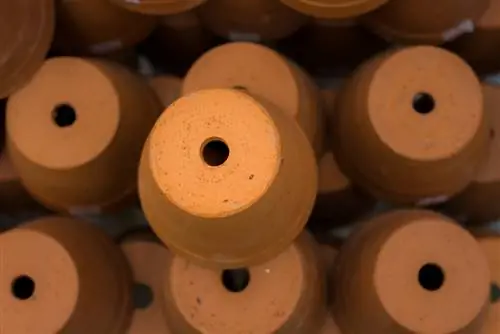
Clay and terracotta pots have an approximately 1 cm hole in the bottom. Too much rain or irrigation water flows away here. This prevents the plant from becoming waterlogged, which can lead to root rot. If you simply pour potting soil into your pot, you will notice that soil is repeatedly washed out of the pot when you water. Drainage can be installed here as a countermeasure.
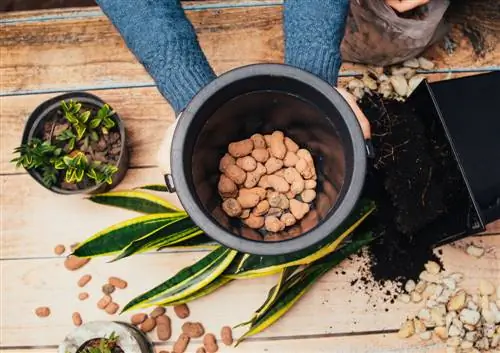
- Take your flower pot and place a piece of pottery or a pebble on the drainage hole. This prevents soil from washing out.
- Place a 2 - 3 cm thick drainage layer of coarse gravel or expanded clay into the pot.
- Place a piece of fleece over the layer. This means that drainage material and soil cannot mix.
- Now fill in potting soil and cultivate your plant.
The damaged flowerpot
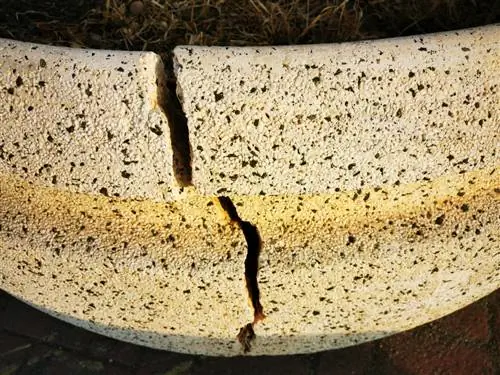
When checking your flower pots after hibernation, you discover a hole in your most beautiful flower pot. Instead of throwing it away, you can try sealing the hole. Adhesives from various suppliers are suitable for this, for example the “Power Putty (€7.00 at Amazon)” from the hardware store.
- Cut off a sufficiently large piece of the modeling clay.
- Knead the mixture until it has a uniform color.
- Press the mixture into the hole in the flower pot.
- Smooth the edges of the repair area as smoothly as possible with a wooden spatula.
- Let the whole thing harden for at least 24 hours.
- Sand the repaired area with fine sandpaper.
Then you can embellish the area to your liking so that it is no longer noticeable. Spray paint or acrylic paint can help here. The flower pot can be planted normally again after the repair has been completed.

