- Author admin leonars@hobbygardeners.com.
- Public 2024-01-10 23:11.
- Last modified 2025-01-23 11:22.
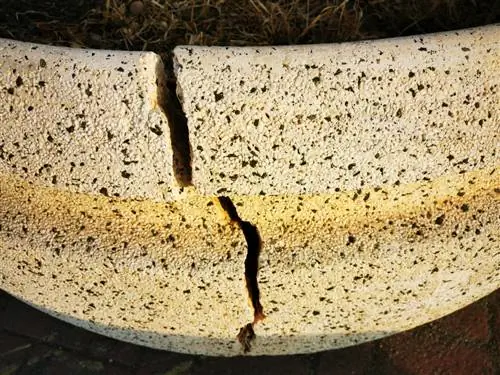
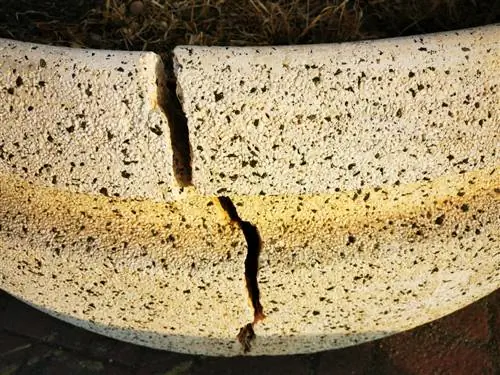
Terracotta flower pots beautify any terrace and give the garden a southern atmosphere. However, these beautiful pots are prone to cracking. But broken flower pots can be repaired.
How to repair a terracotta flower pot?
To repair a terracotta flower pot, first clean the break, apply waterproof glue, insert the broken piece and secure it with tape. Allow the glue to harden, remove any remaining glue and sand the edges smooth. Seal the repair area with clear varnish to make it waterproof.
Why do terracotta pots break quickly?
Terracotta is a porous material that stores moisture in its pores. On the one hand, this is good for the plants because there is still water available even on dry days, but on the other hand, it is a disadvantage in winter. The water in the pot walls freezes and explodes the material, causing cracks or shards to break out. A clay or terracotta pot can also be quickly destroyed by carelessness. Even a strong gust of wind can knock over the pot and destroy it. However, a broken flower pot can be easily repaired.
Repair cracks in flower pot
For the repair you need a waterproof glue (€6.00 on Amazon), which not only sticks but also fills small gaps. Also
- a brush
- Two-component adhesive
- some tape
- a sharp knife
- fine sandpaper
- possibly spray paint
The Repair
How to proceed with the repair step by step:
- Use the brush to remove dust from the break area.
- First try inserting the fragment without glue.
- Apply the glue to the shard and the pot.
- Insert the shard into the pot, press briefly and secure it tightly with adhesive tape.
- Allow the glue to harden.
- If there are several fragments, glue them together first.
- The glued shard can then be inserted into the pot in one piece.
- Fix the repaired area with adhesive tape until the adhesive has completely hardened.
- Remove the adhesive strips.
- If glue has escaped from the cracks, it is cut off with a sharp knife.
- Sand the edges with fine sandpaper.
- The repair area can be made waterproof from the inside and outside with clear varnish.
If the repaired area on the pot is particularly noticeable, it can be concealed with acrylic painting or by sticking on small decorative items.
What to do if repair is not possible?
If flower pots break, they are usually your favorite pieces. Repairs are often no longer possible because the shard has broken into many individual pieces. With a little creativity, even a defective flower pot doesn't have to be thrown away. Depending on what the break looks like, you can plant tillandsias (a bromeliad plant), cacti or even small succulents so that they grow out of the break.

