- Author admin [email protected].
- Public 2023-12-16 16:46.
- Last modified 2025-01-23 11:22.
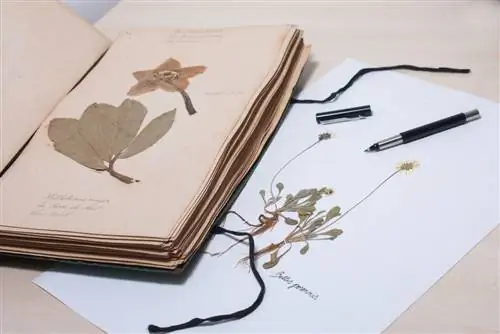
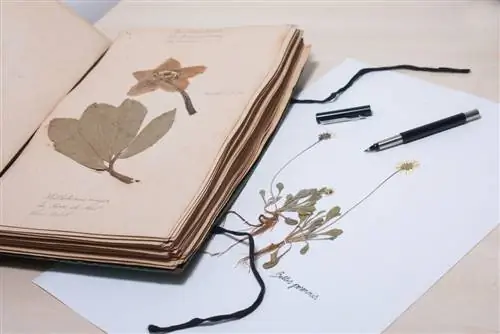
Creating a herbarium is a fun activity for children and at the same time represents a kind of botanical diary. For this it is important to dry and press the plant material properly. Otherwise the quality suffers.
How do I press plants correctly?
To properly press plants, place the collected plant parts between absorbent material such as white paper or kitchen roll. Stack multiple layers on corrugated cardboard to ensure stability. Between two press plates or metal grids, fixed with straps or belts, the plants dry evenly and maintain their shape.
Drying and pressing
Dry preservation removes water from the plant so that the plant parts no longer rot. The faster the drying process is completed, the better the result. Your collected flowers retain as much of their color pigments as possible when they are quickly placed in the plant press. If plant materials dry too slowly, the color of the petals will change significantly and leaves may fall off.
Why plants need to be pressed
The loss of water causes the plant tissue to shrink, changing its shape and structure. The foliage curls and looks shriveled. This change in shape is counteracted by the pressing process between absorbent materials. At the same time, the water can be drawn out of the tissue more quickly.
Build a plant press
A flower press has proven itself in practice to be the optimal drying method. The flowers are placed between white paper, paper towel sheets or paper towels. For better stability, place the material with the plants on corrugated cardboard. This way you can layer multiple layers.
Construction instructions
You need two pressboards (€24.00 on Amazon) in size A4 to A3. Place the layered plant material in between. Beforehand, make sure to cut the corrugated cardboard and paper to the dimensions of the press. Alternatively, you can use a metal grid instead of the chipboard. Tie several straps or straps around the frame so that pressure is built up.
Tip
Prick holes in the corrugated cardboard. This enables better air circulation so that moisture is optimally dissipated.
Pickling plants
Clean any soil residue from your yield and place it as naturally as possible on the absorbent surface. There are no limits to your imagination. Please note that the shapes cannot be changed afterwards.
Notes on collecting
Plant species that are protected must not be picked. This includes species that are classified as endangered and are therefore on the Red List. If in doubt, leave the species as a precaution and use plants you know.
Collecting is not allowed here:
- Nature reserves
- other protected biotopes
- Private properties, except with consent
Regardless of the threat, you should also keep an eye on the flowers. If you stick to the guide value of 1:20, you are on the safe side. This means that you can pick a plant from 20 specimens. In this way you do not destroy any isolated plant populations.
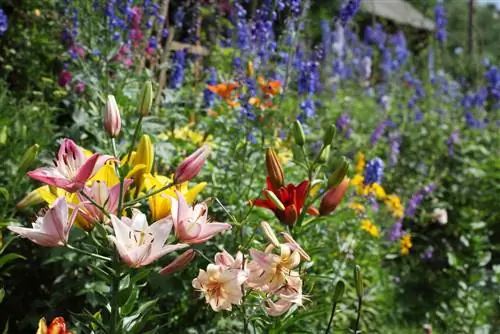
What plants to collect?
You can be picky when picking. The fresher and more intact the flowers are, the more beautiful the result will be in the end. Leave specimens that have been eaten by insects, are not in optimal condition or have cracks in the leaves.

