- Author admin [email protected].
- Public 2023-12-16 16:46.
- Last modified 2025-01-23 11:21.
If you are building a new garden house, you must first decide on a suitable foundation. Of the various substructures, the material-saving and easy-to-install point foundation is particularly popular with those who build the garden house themselves. Not only is it cost-effective, but it is also extremely stable, as it transfers the load into the ground at fixed concrete points.
How do I create a point foundation for a garden house?
A point foundation for a garden house is inexpensive, stable and easy to create yourself. To do this, you will need gardening and landscaping concrete, post anchors and tools such as a shovel, spirit level and cordless screwdriver. Plan the position of the posts, dig holes, pour concrete and insert the H-anchors.
How much does the foundation cost?
The material price for this foundation is very easy to calculate. For example, if you plan points measuring 25 x 25 centimeters that extend 80 centimeters into the ground, the following calculation results:
25 cm x 25 cm x 80 cm=50,000 cm³=50 dm³, which corresponds to 50 liters per foundation point.
How many foundation points you ultimately have to pour depends, among other things, on the strength of the support beams used: the thicker they are, the further apart the individual points can be. One concrete point per meter is the minimum.
The tools you need:
- Wheelbarrow, shovel and spade
- Watering can or water hose
- Cordless screwdriver
- Wrench and ratchet with nuts
- Mason's cord and wooden strips
- Spirit level
- Gardening and landscaping concrete or quick-release concrete
- Post anchor
Plan the position of the posts
- First mark the floor plan of the garden house with wooden strips and tension the batter board aligned with the spirit level onto these.
- Now plan where you want the individual foundation holes to be dug using crossing lines. Make them sufficiently large, the 25 centimeters in our example above are the absolute minimum, which is only sufficient for very small houses.
- Make sure that the foundation holes are aligned at right angles, as a crooked foundation has an unfavorable effect on the statics.
- The excavation work is made easier by cardboard templates, which are fixed in the desired positions with a wooden strip.
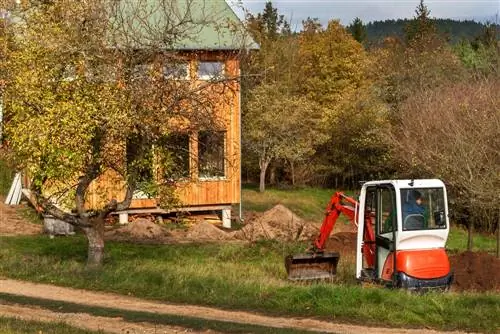
- Now dig out the individual points with a shovel and spade.
- Do not under any circumstances fall below a minimum depth of 80 centimeters. In areas prone to frost, the foundation points should extend even deeper into the ground. This is the only way to ensure that penetrating and freezing water does not lift the structure in one place.
- A drainage layer is not absolutely necessary, but advisable.
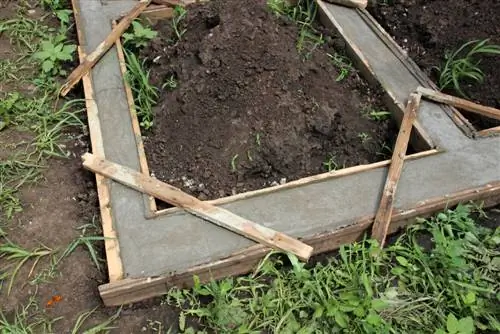
- Depending on the nature of the ground, additional supporting formwork is now installed.
Concreting
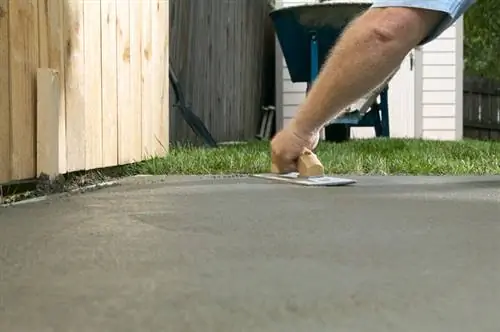
Now mix the concrete according to the manufacturer's instructions and fill the hole. Concrete should be mixed again and again with the shovel so that the material is well compacted. Add concrete to just below the edge and smooth the top.
The H-anchors are placed in the still wet material and aligned exactly on the batter board. Now let the concrete harden for at least 24 hours before you start setting up the arbor.
Tip
Thanks to point foundations with post anchors, the wood has no direct contact with the ground. This ensures very good ventilation and prevents the wood lying on wet ground from rotting. The point foundation is also ideal for a garden house on stilts.

