- Author admin leonars@hobbygardeners.com.
- Public 2023-12-16 16:46.
- Last modified 2025-01-23 11:21.
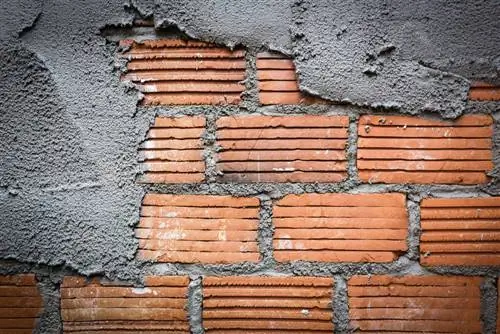
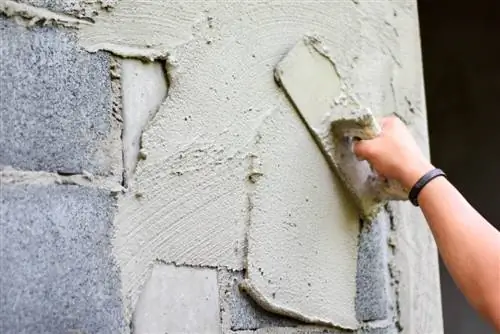
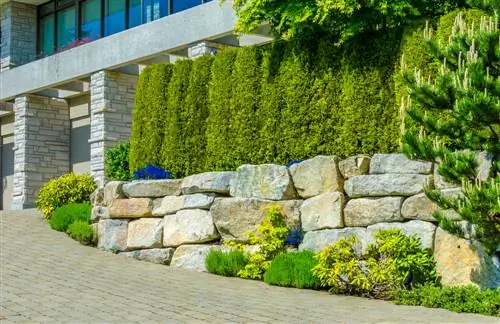
Walls are supporting elements in garden design that last forever. This applies equally to the large park and the small front garden. If the budget for construction is tight, simple concrete blocks and bricks form the masonry. With a plaster in two layers you can give your garden wall a weatherproof and artistic aesthetic at a low price. These instructions explain how to do it.
How do you plaster a garden wall?
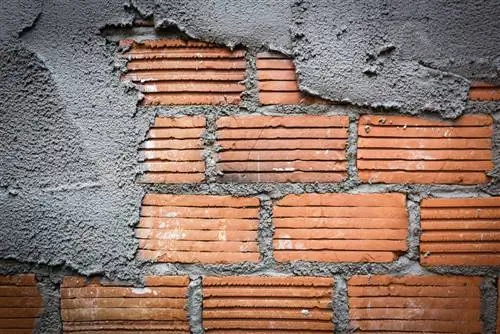
To plaster a garden wall, you need adhesive primer, base plaster, decorative plaster, a drill with a mixer, mortar bucket, bricklayer's trowel, smoothing trowel and float. Remove dirt, apply primer, let it dry, mix the base plaster and apply it evenly. Smooth the surface and apply the decorative plaster after the base plaster has dried.
Material and tool list
In order to make a self-built brick wall weatherproof and beautifully plastered, the following materials and tools are required:
- Adhesive base or adhesive bridge
- Basic plaster (mortar plaster for brick walls, lime plaster for concrete walls)
- Decorative plaster
- Drilling machine with stirrer or concrete mixer (for large areas)
- Mortar bucket
- Mason's Trowel
- Smoothing trowel (trowel)
- floater
If your garden wall is made of different materials or seamlessly merges into a hedge, include reinforcement in the plaster. Special reinforcement fabric and special edges reduce surface tension and prevent cracks. A reinforcement is applied at the same time as the base plaster and pressed into the damp plaster layer before you spread the remaining plaster over it in full thickness.
Preparatory work
The garden wall must not be dirty so that the base and decorative plaster hold well. Therefore, brush the masonry thoroughly to completely remove any loose particles. Then apply the adhesive primer to the smoothest possible surface. A higher quality bonding bridge is recommended if it is a wall made of concrete or a substrate that is critical for plaster.
Apply base plaster - this is how it works
Once the adhesive base has dried, mix the base plaster in a bucket. When mixing proportions, please follow the manufacturer's instructions exactly. Always only mix as much plaster as you can process within 60 minutes. Stirring work is much easier by hand with a drill (€11.00 on Amazon) and an attached stirring whisk. Use a trowel to apply the plaster evenly to the wall surface. Then smooth the surface with the float.
Decorative plaster gives the garden wall a beautiful look
Decorative plaster is only applied to the base plaster when this layer has completely dried. To beautify your garden wall with plaster, specialist retailers have a variety of uncomplicated options for you:
- Grainy rubbing plaster: rub with a trowel
- Paste plaster: apply with a brush
- Roll plaster: spread with a structure roller
Mineral silicate plaster, which is alkaline for use on garden walls, is particularly recommended. This has the advantage that the decorative plaster not only beautifies the wall, but also keeps it free of moss, algae and fungi. There is also silicate plaster in beautiful colors, which you can optionally intensify with a final coat of paint.
Tip
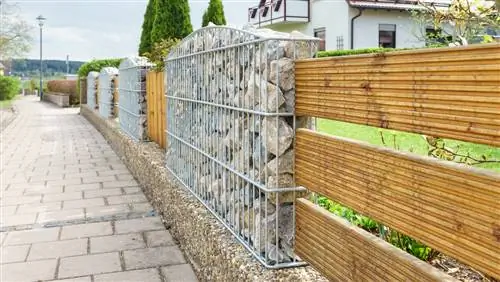
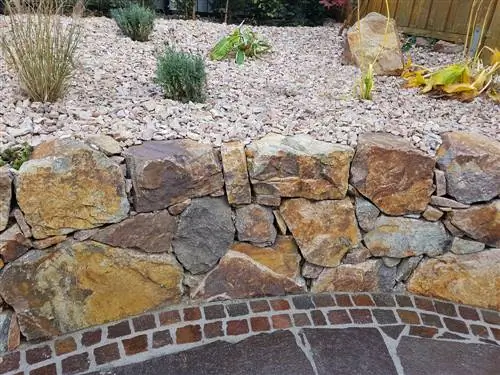
Do you just want to plaster a garden wall and then cover it with wood, plastic or natural stone? Then inexpensive cement plaster is sufficient as a primer to give the cladding an extra dose of stability and durability.

