- Author admin leonars@hobbygardeners.com.
- Public 2023-12-16 16:46.
- Last modified 2025-01-23 11:22.
Scarf stone walls can be easily erected even by laypeople. Because they are filled with concrete, they are stable and durable. However, there are a few important points you need to keep in mind when final plastering, which we would like to discuss in more detail in this article.
What are scarf stones?
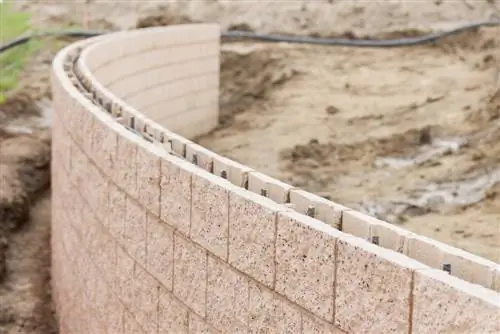
Classic hollow stones, such as those used to build a garden wall, are made of concrete or lightweight concrete. With these, even laypeople can build a very functional wall. They have a hollow core of air chambers that is open at the top and bottom and is filled with concrete.
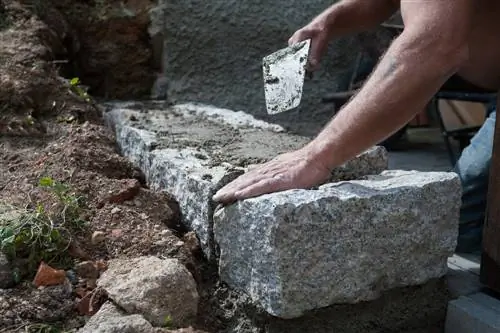
Processing is incredibly simple: the stones are placed precisely together using the tongue and groove system. If the free-standing garden wall exceeds a certain height, you should add reinforcing bars for better stability. The cavities in the finished wall are filled from above with flowing concrete. Finally, cover the last row of stones with wall covering tiles.
Be sure to allow the concrete to harden sufficiently long before plastering, as the material dries slowly due to the poor capillary system.
How to plaster?
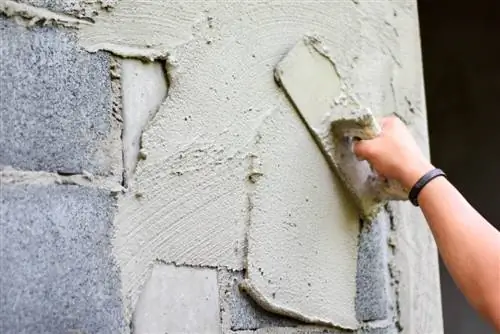
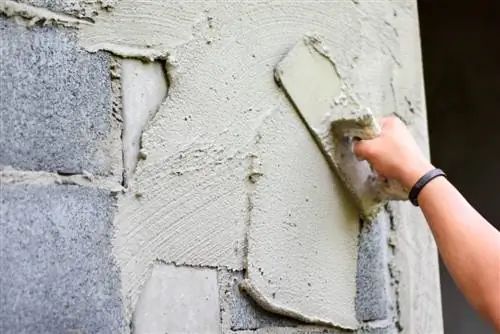
Since cement plaster does not adhere well to concrete blocks due to its lack of absorbency, you should prepare the garden wall accordingly. Before applying the plaster, this must be completely free of residues such as dust and release agents.
Material list
- Haftground
- Reinforcing mortar and mesh
- Decorative plaster
- Facade paint
Tool list
- Drilling machine with stirrer or concrete mixer
- Mortar bucket
- Mason's Trowel
- Traufel (smoothing trowel)
- floater
- painting bucket
- Roller and brush
- First apply the adhesive base (€23.00 on Amazon). This ensures a secure connection between the concrete blocks and the applied plaster.
- Mix the reinforcement plaster exactly according to the manufacturer's instructions.
- Reinforce the area with reinforcing mortar and the appropriate mesh.
- Smooth the garden wall with the float and let everything dry thoroughly.
- You can then apply a decorative structural plaster.
- If you wish, you can give the wall a coat of paint of your choice.
Tip
A resistant, mineral silicate plaster is highly recommended. This has the advantage that mosses, lichens, algae and fungi can no longer settle on the garden wall. This special plaster is available in an attractive color range. In addition, the material can easily be painted over.

