- Author admin [email protected].
- Public 2023-12-16 16:46.
- Last modified 2025-06-01 06:02.
The allotment garden has shed its dusty image. For young families in the big city and in the village, having their own garden is more popular than ever. This applies to the plot in the allotment garden colony as well as to the garden on the new building plot. In parallel with the new trend, the gazebo has transformed from a rustic log cabin to a modern weekend home. You can find out what you should pay attention to when building do-it-yourself here.

How do I build a gazebo myself?
To build a garden arbor yourself, you should consult the development plan, use local wood and proceed in the following steps: lay the foundation, put up walls, build a roof structure, cover the arbor walls and carry out the interior work.
Regulations set the direction
The image of stuffy bower pipits has long since been overcome, but the old regulations still apply. Therefore, the local development plan must first be consulted to determine whether any structures are permitted. The following premises apply to the construction of a gazebo:
- Maximum covered area: 24 sqm
- ridge height gable roof: 3, 50 m
- Ridge height of pent roof: 2, 50 cm
A gazebo is not permitted for permanent living. In addition, one third of the garden area is reserved for growing vegetables, so the arbor may not take up more than two thirds of the total area.
Work steps in time lapse - this is how you proceed professionally
Careful planning guarantees that the construction work runs smoothly. Local wood as the most important building material is trendy and sustainable at the same time. The range extends from pressure-impregnated spruce to robust larch to elegant Douglas fir. Screed concrete makes the mixing machine unnecessary. Insulating material from a single source ensures that everything fits together. The following work steps mark the complete process up to the finished gazebo:
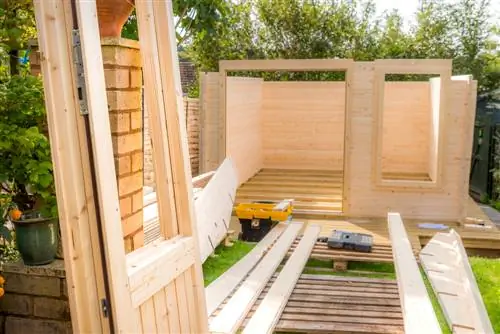
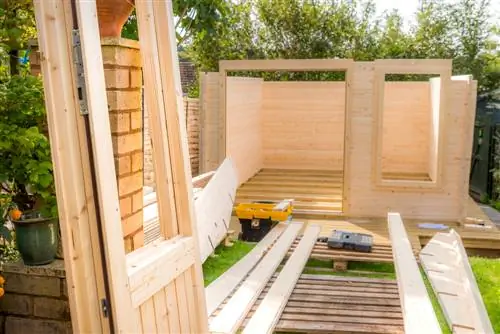
- Create a foundation with concrete-encased floor beams, floor slabs and floor insulation
- Set up the walls with double-sided planking for the insulation material
- Build a roof structure as a pent roof for later greenery
- To beautify and protect against wind and rain, cover the arbor walls with decorative profile boards
At the end of the construction work, the interior of your gazebo is on the agenda. Now the windows are being installed because the rooms should be flooded with light. A floorboard made of splinter-free wood invites you to walk barefoot without any worries. Walls covered with plasterboard can be easily painted in beautiful colors.
Designer arbors as a kit - contemporary and easy on the nerves
It is thanks to the kits of the architect duo Nanni Grau and Frank Schönert that the classic gazebo has finally made the leap into the 21st century. The mini arbor 'MiLa' offers everything a gardener's heart desires with 16 square meters, large glass doors and a 5 square meter terrace. There is even room for an organic toilet and sleeping loft here.
Where space capacity and financial budget allow, 'CaLa', the Cameleon Arbor, comes out on top. Thanks to colorful facades made of wood, corrugated iron or plaster, the designer gazebo harmonizes with any garden style. Functional areas consisting of bathroom, kitchen, cupboards and sleeping loft mark the transformation of the gazebo into a modern weekend retreat.
Tip
If the garden design is based on the principles of Feng Shui teaching, the location of the gazebo is chosen at the rear of the property. At this point the wooden house stabilizes the flow of positive energies at the rear border. Ideally, a curved path connects the house and garden house.


